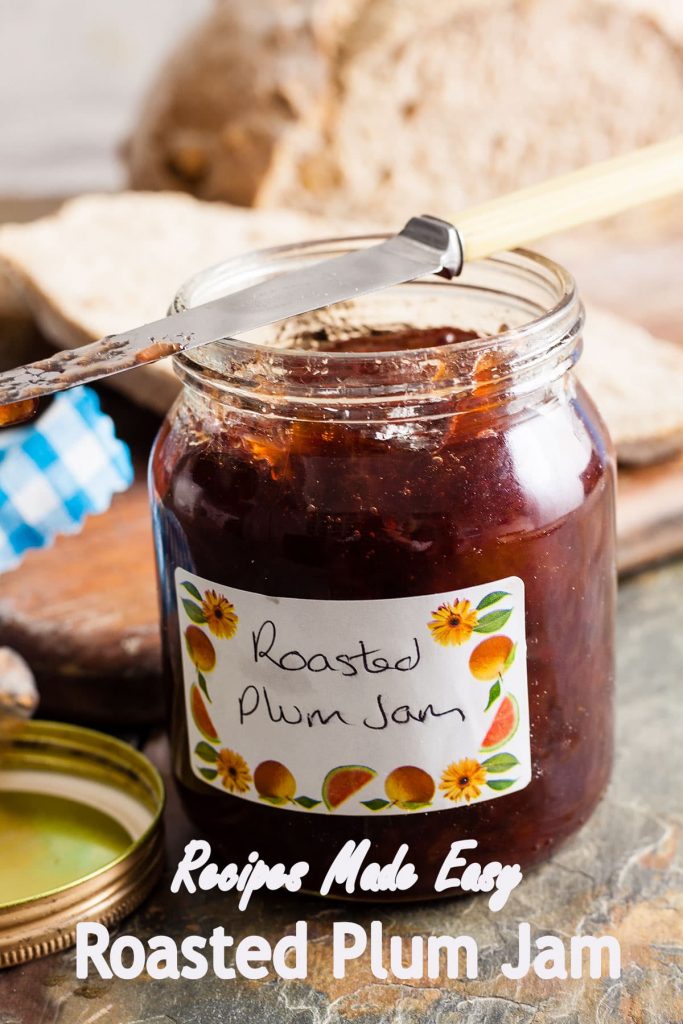
Roasted plum jam with its almost caramelised chewy sweet pieces is a delicious variation on a basic plum jam. Roasting the fruit first intensifies the flavour and also means its really easy to remove the stones too.

I have a plum tree and as seems to often be the case, some years it produces masses of fruit and others hardly any. Needless to say, when they are plentiful you will find me in the kitchen trying out new recipes because much as I love plums I just can't eat them all as fresh fruit.
I now have two favourite plum jams which I tend to make again and again. The first is a slow-cooked Italian plum jam which I published on my baking blog Only Crumbs Remain. A smooth thick jam ideal for use as a cake filling or for those who don't like bits in their jam.
The other is this roasted plum jam. Roasting the plums seems to intensify the flavour and I absolutely love the chewy bits of plum skin. If you don't like bits in your jam then this is not for you but if you do, I'm sure you will love this jam. You can see the pieces of skin become candied in the photograph below.
Stone removal is so easy
Not only does roasting the plums boost the flavour it also makes it really easy to remove the stones which can be fiddly and one of the downsides of making regular plum jam.
You know how it is. Some plums can be cut in half and the stone easily flicked out, other plums cling to the stone and refuse to give it up without a fight.
For this recipe simply cut the plums in half and twist apart and place cut side up on a large baking tray or tin. If the stones are removed easily then discard at this point. If not leave them in. After roasting you can easily lift them off with a fork. (See step 2 below).
After roasting, the jam is made in the same way as many other jams, heating the fruit in a pan until the sugar dissolves and then boiling until setting point is reached and finally potting.
Do I need to use a preserving pan?
You can use any large pan to make jam. You need to allow plenty of room for the jam to boil up during cooking.
If you make a lot of jams and preserves it is worth considering investing in a preserving pan. Preserving pans tend to be wider and shallower than a regular saucepan or stock pot, with gently outwards sloping sides. This shape facilitates a good rolling boil which in turn results in a short cooking time before setting point is reached.
How to sterilise jam jars
- Wash the jars in warm soapy water and rinse well. Do not dry.
- Place the wet jars on a tray, heat the oven to 140℃ (120℃ fan)/275°F /gas 1 and put the jars in the oven to dry completely.
- Sterilise the lids (and rubber rings if using Kilner style jars) in a pan of boiling water for 5 minutes.
I always sterilise one or two more jars than I think I will need, to ensure I have enough.
How to make roasted plum jam step by step
halve plums and sprinkle with a little sugar. Roast plums and discard stones. Place the roasted plums in a pan with the sugar. Cook until sugar dissolves. Bring to a rolling boil. Test for set. Pot the jam.
How to test for a set
- Before you start making your jam or preserve, place a couple of plates in the fridge to chill.
- When you are ready to test for set, remove the pan from the heat. Drop a little of the preserve onto a chilled plate and return to the fridge for about 2 minutes. Gently push your finger into the mixture and see if it mounds and wrinkles. If so, the setting point has been reached.
- If not, return the mixture to the boil for few more minutes and retest. Repeat again as necessary until setting point is reached.
See my preserving tips for more jam making hints and tips.
More jam recipes made easy
Roasted Plum Jam
Equipment
- roasting tin
- preserving pan or large saucepan
Instructions
- Preheat the oven to 220℃ (200℃ fan)/425°F/gas mark 7. Wash 1½kg plums and cut in half discarding any loose stones and place in a single layer on a large baking tray.
- Measure 1kg sugar and sprinkle 2-3 spoonfuls of the sugar over the plums. Roast in the oven for 15 minutes.
- Lift off any plum stones with a fork and discard. Tip the roasted plums and the juices into a preserving pan or very large saucepan and add the remaining sugar.
- Cook gently over a low heat stirring until the sugar has dissolved.
- Bring to a rolling boil and boil for 6 - 8 minutes, then test for a set. If a set has not been reached continue to boil for another 2 minutes before retesting. Repeat if necessary until setting point is reached. If you have a thermometer the mixture should reach 105℃/220°F.
- Pour into hot sterilised jars and cover. Label when cool.
Siobhan says
So enjoyable to make and lovely rich colour in jars.
Jacqueline Bellefontaine says
So pleased you like this I find jam making very enjoyable and rewarding
Jeanette says
I made this yesterday and had some on toast for breakfast. Its the best jam ever with the lovely concentrated flavour and texture of the plums, and so easy! If you only make one jam, make this one while plums are in season!
Jacqueline Bellefontaine says
Thank you your comment has made my day. Gl; ad you like it as much as I do 🙂
louise Gunstone says
Roasted plum jam - yum!! We have loads of plums so this is perfect. Thanks
Jacqueline Bellefontaine says
Thank you and enjoy the jam making