Last week I shared with you my rich fruit cake recipe which I use for my Christmas cake. So now its time to show you the finished cake. When time allows I do like to decorate my cake. When I don't have the luxury of time I usually opt for a Dundee cake (no decorating required) or top the cake with candied fruit and nuts. I'll save that for another year. I am not a huge fan of the taste of fondant icing though. Is anyone?
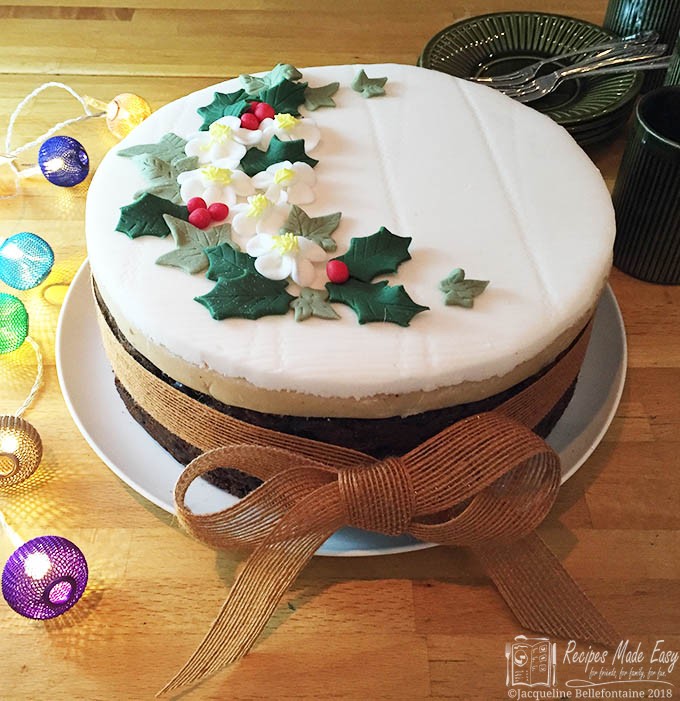
So, this year I have gone for a minimalist look covering just the top of the cake and I have given the top a textured finish. This has the advantage of 1) less icing; and 2) less skill required as you don't need to worry about getting a lovely smooth finish to the icing, although you do have to be careful not to get crumbs in the icing from handling the side of the cakes. Still, all in all I think it is a relatively easy and quick way to cover the cake.
If you have not made your cake yet it's not too late you can find the recipe here
I made two batches of cake mix and cooked some in loaf tins to make small long cakes and some in mini sandwhich pans to make indidual cakes. These I completely covered in icing. If you prefer you could do this with the large cake, but you will need extra marzipan and icing. Make the impression on the top of the cake after you have covered the cake. For these smaller cakes I used a patterned rolling pin.
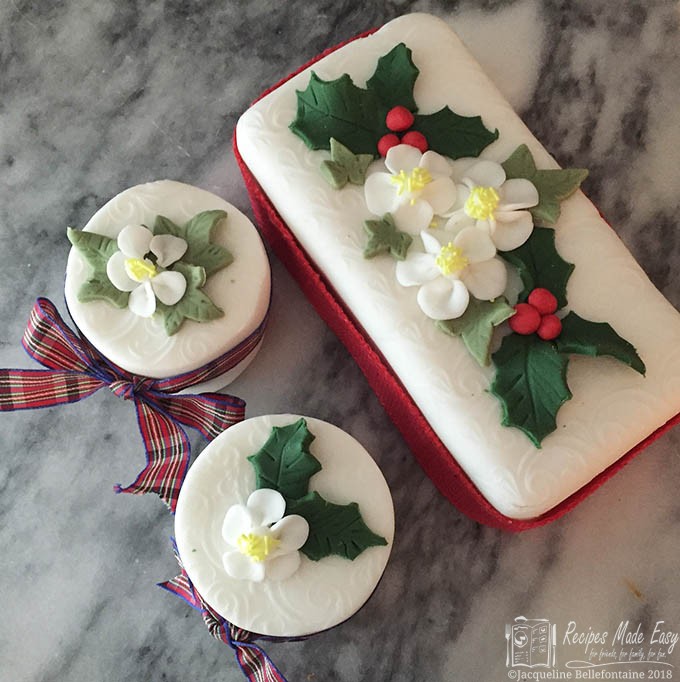
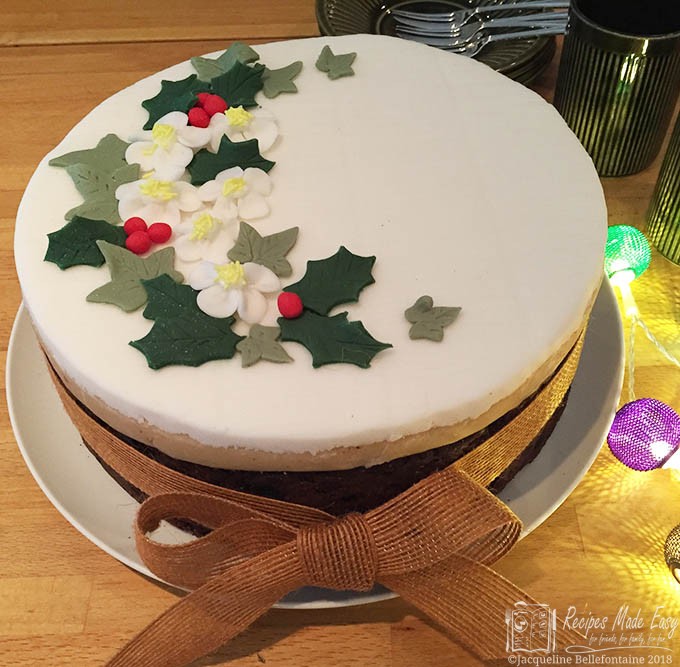
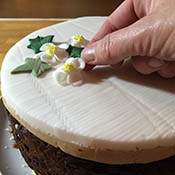
To complete the cakes I made some simple fondant flowers, holly and ivy leaves and a few berries and arranged them on top of the cake. A ribbon tied around the cake completes the look.
To decorate the Christmas cake you will need:
- 500g marzipan
- icing sugar, to dust
- a little apricot jam
- about 1 kg ready to roll fondant icing
- a little clear alcohol i.e. vodka or gin (just a tablespoon or so)
- 50g royal icing sugar
- yellow sprinkles
- Green and red food colourings
- ribbon
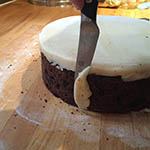
Start by covering the top of the cake with marzipan. Roll out the marzipan to a circle a little larger than the cake. If the cake is domed, carefully trim the top to level it. Heat a couple of tablespoons of apricot jam with a teaspoon of water until melted, then push through a sieve. Brush over the top of the cake. Place the cake upside down on top of the marzipan and use a palette knife to push the marzipan up against the cake.

Turn the cake over and trim away any excess marzipan with a sharp knife. Next clear away any crumbs before rolling out the fondant icing.
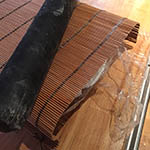
Roll out about half of the icing on a work surface lightly dusted with icing sugar into a circle about the same size of the cake. Cover with a sheet of cling film then place a wicker placemat on top and roll over a few times with the rolling pin to indent the surface of the icing. If you have them, you could use a patterned rolling pin or an impression sheet instead.
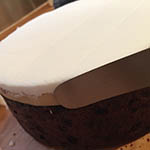
Remove the cling film and mat. Brush the surface of the marzipan with a little clear alcohol and carefully lift the icing on top. Trim away the excess icing and then use a paltte knife to smooth the edges. Transfer the cake to a plate or cake board and allow the icing to dry slightly.
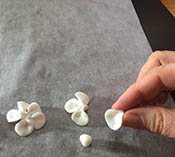
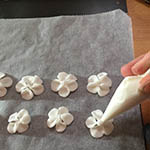
Meanwhile make the flowers. Line a tray with baking parchment. Roll a small piece of icing into a ball and flatten into a petal with your finger tips.
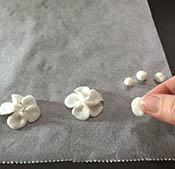
Pinch the petal on one side and place the parchment. Repeat until you have made a five petal flower. repeat until you have made several flowers.
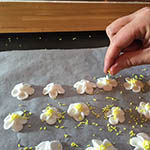
Mix a little royal icing sugar with water to form a smooth icing and pop into a small piping bag fitted with a plain writing nozzle. Alternatively, you can use a small plastic bag and snip a small hole in the corner. Pipe a small dot of icing into the centre of each flower
Then immediately sprinkle with a few yellow sugar strands into the centre. Allow the flowers to dry out for a few hours before completeing the cake. If you dont have yellow sprinkles you could colour the icing instead.
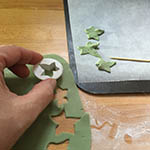
When you are ready to complete the cake, colour the fondant icing two shades of green. One for the ivy, and one for the holly leaves. Then colour a little bit bright red for the holly berries. Roll out the ivy green icing and cut out various sized ivy leaves with a cutter. Mark the veins of the leaves using a cocktail stick and then place on a tray lined with parchment.
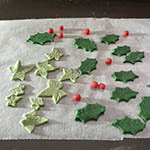
Next roll out the other green and cut out holly leaves. If you do not have a holly leaf cutter you can make them with a round cutter and a teaspoon or small piping nozzle as follows: Cut out a circle of icing, then cut one side to make a simple leaf shape. Nip small pieces of fondant along each edge of the leaf to make the spikes of the holly.
Place on the parchment and mark the veins of the leaves with a cocktail stick.

Finally, roll a few red holly berries.
Arrange the leaves on the top of the cake before they have fully hardened. Secure the leaves and berries in place with a dab of alcohol or water on the back. Arranging them before they have dried will allow you to shape the leaves so that they do not all lie flat on the cake. Secure the dried flowers in place with a blob of royal icing.
Tie a ribbon around your cake and it is complete

Have you made this recipe? I would love to hear from you. Did you enjoy it, did you change anything? Leave a comment and rate the recipe. Comments may be held for moderation before publishing.